Futon Bed Project

Things that I use everyday are the things I like to make into the best possible experience. This is why I need settings on computers, I need to change the colour schemes on text editors and PDF readers, I need to use a mechanical keyboard, I need to use a fountain pen, I need a customised and responsive phone (note responsive, not powerful or overly fancy). These needs stem from the discomfort bad options bring, especially when using them for extended periods, as is common for typing reports etc. This same urge later led to the headphone stand and wrist rest projects above.
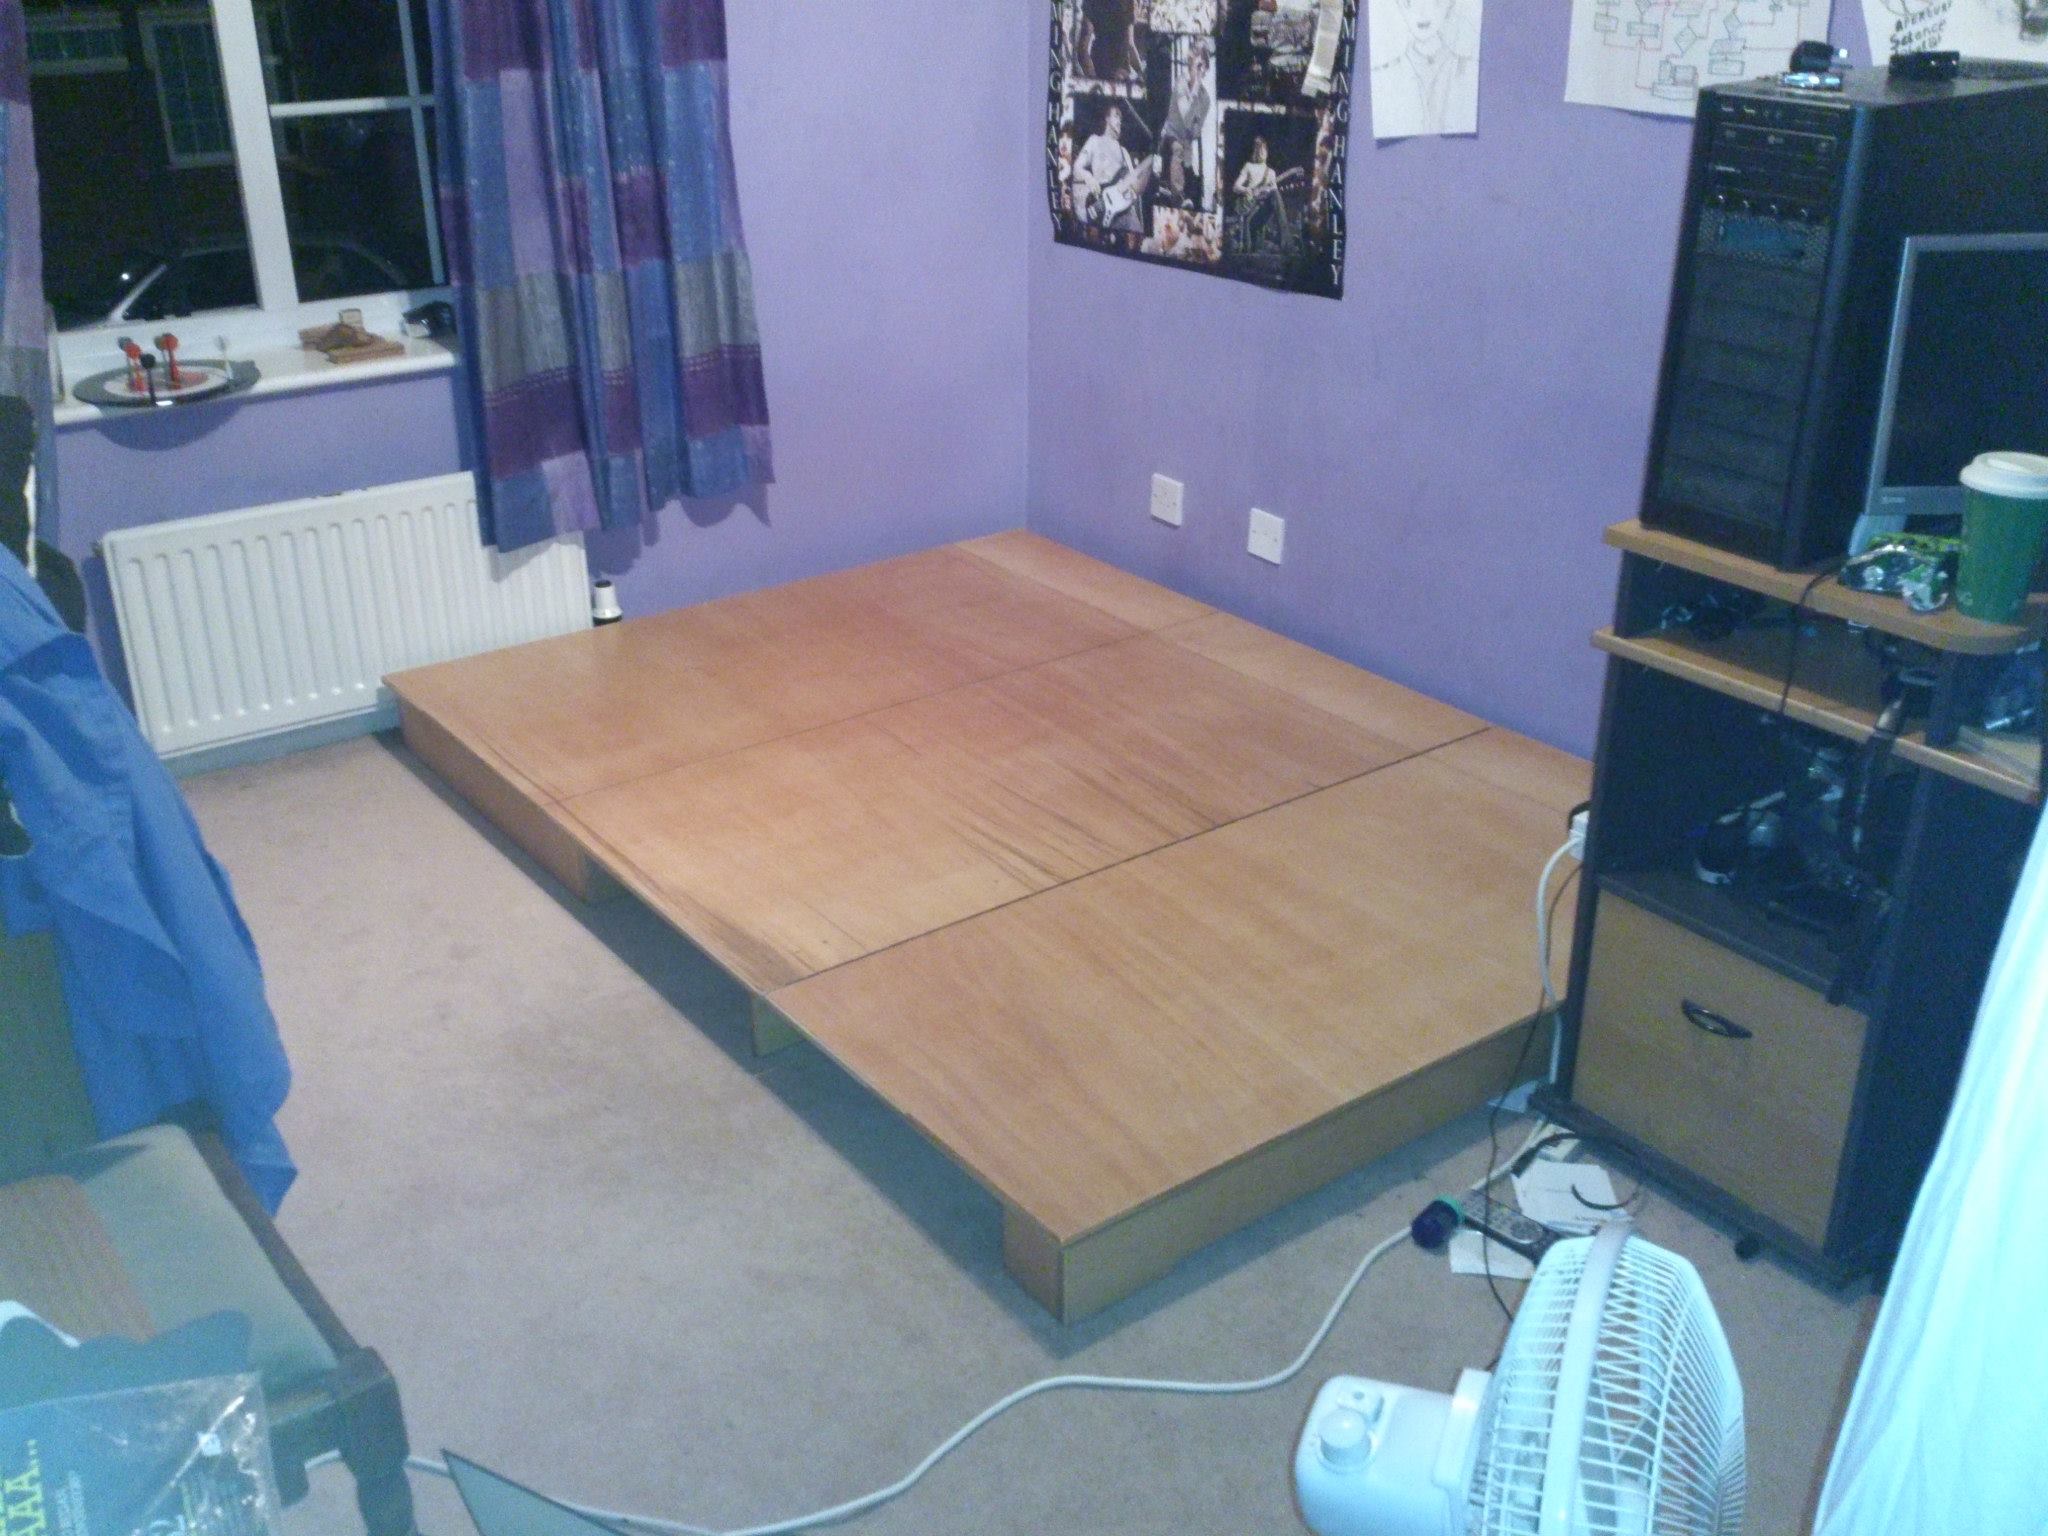
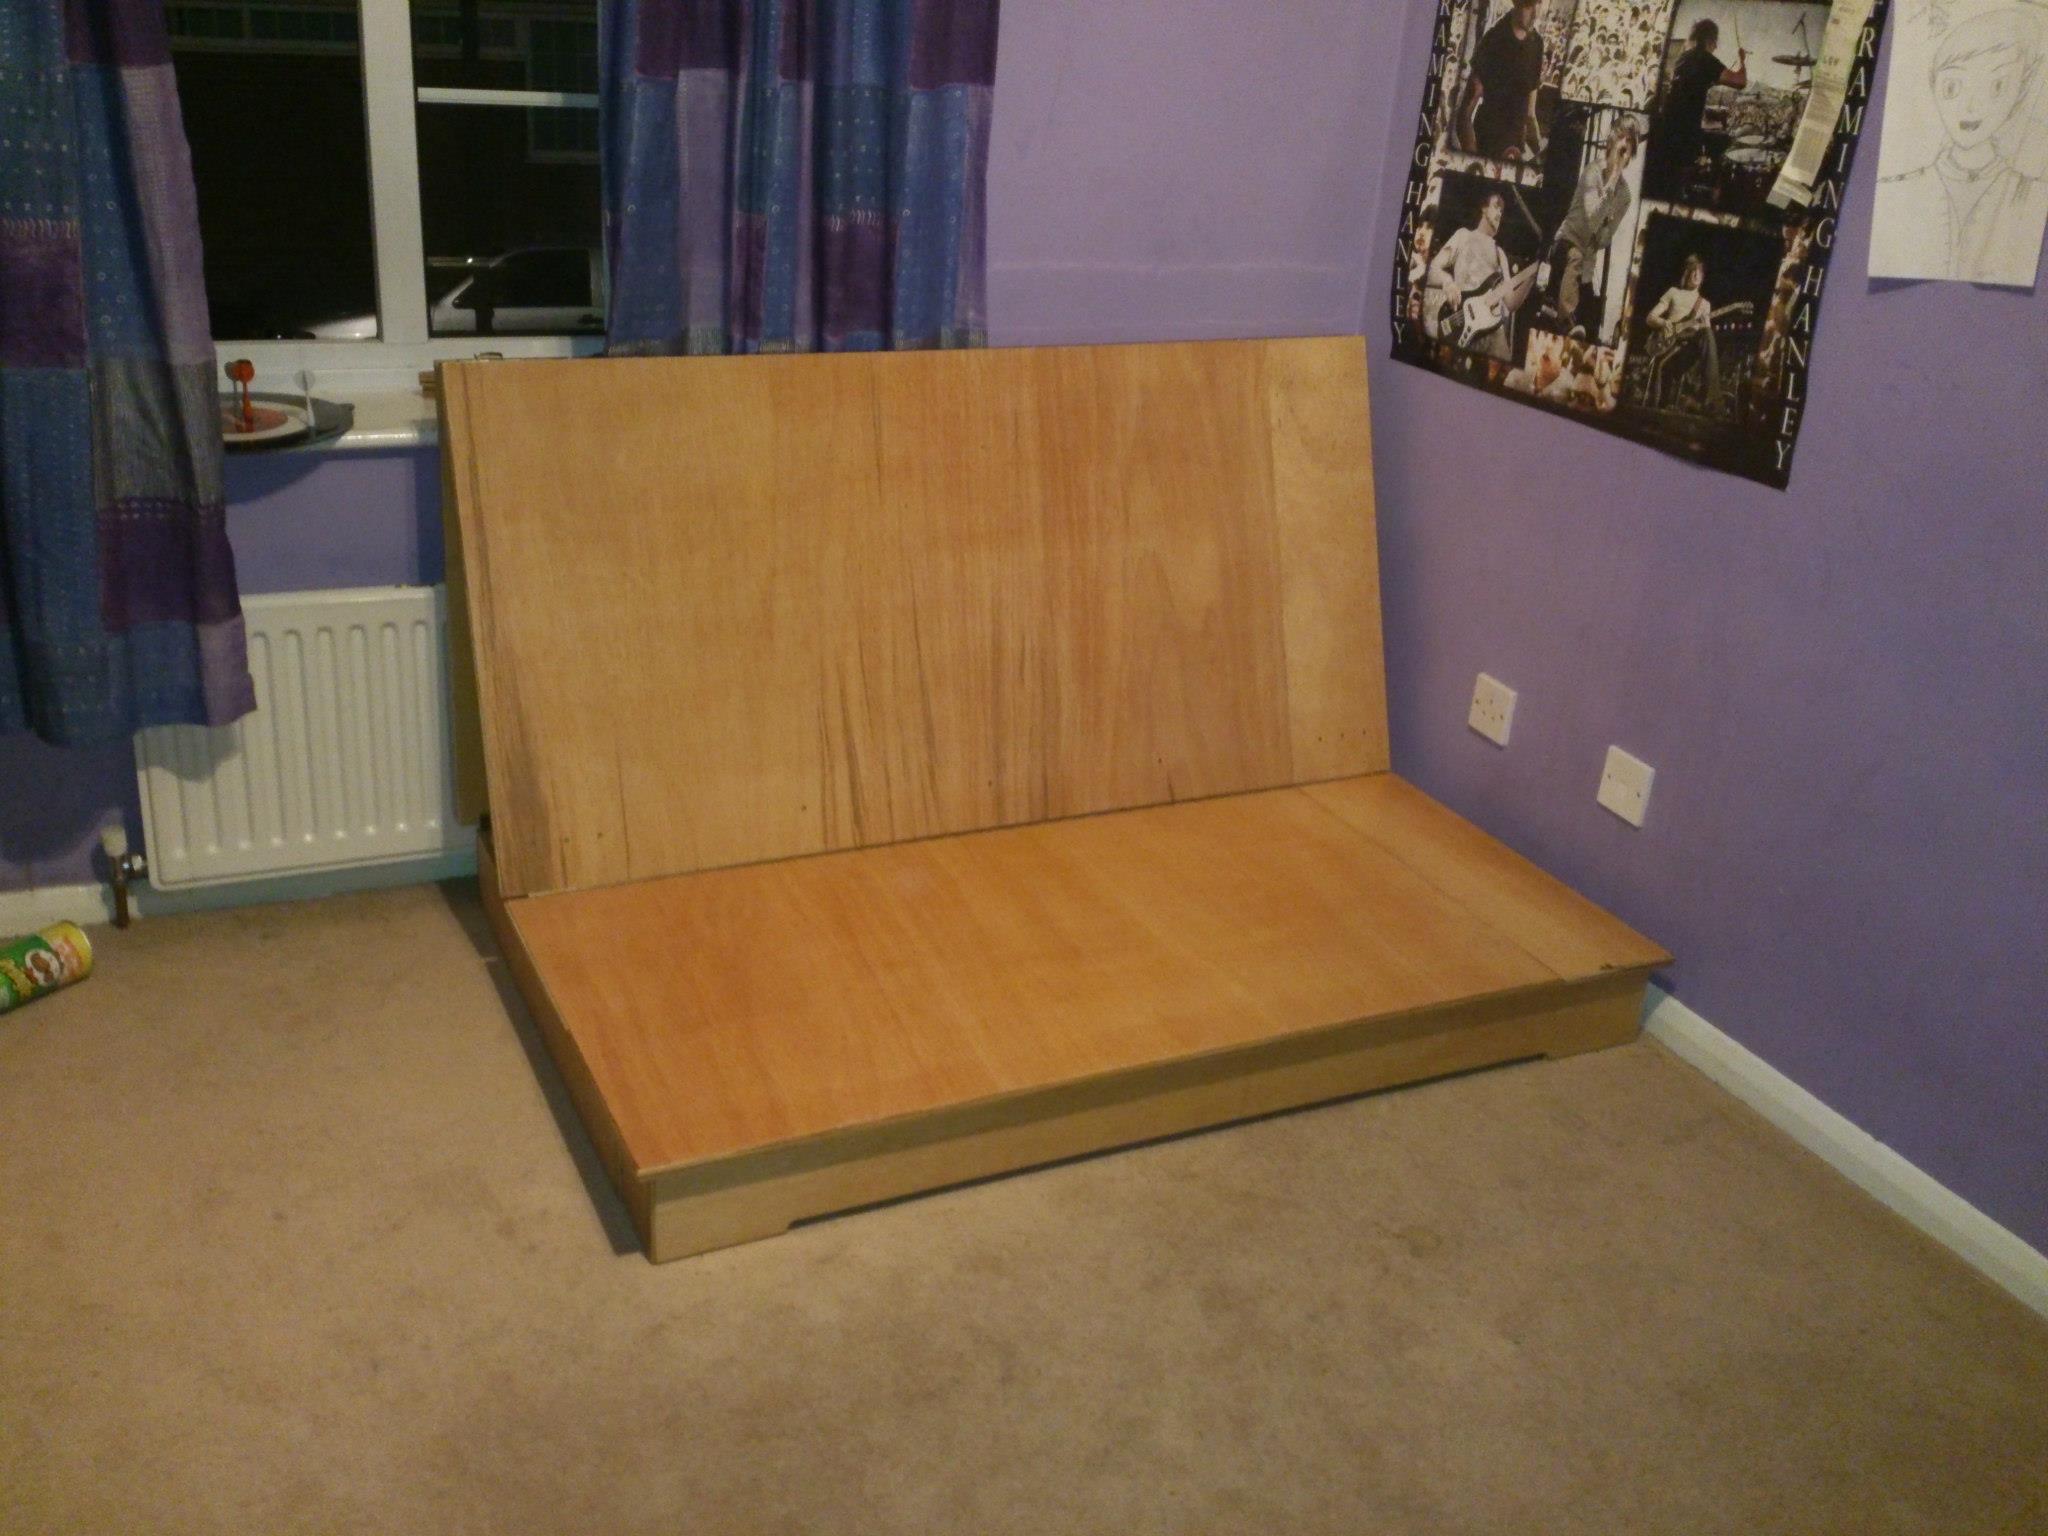
For this, the bed I originally had was the bottom half of a bunk bed bought for me when I was much younger. The top half had long broken and the bottom half survived long enough for it to serve as the only bed I remember having before making this one. It broke, and for a long while I had been sleeping with the mattress on the floor, waiting to decide what bed to buy and that sort of thing. Finding no options I liked, I decided to take it upon myself to make a queen sized futon that did not have the typical slats which cause the bed to feel lumpy and the night's sleep to be restless.
 Instead, I wanted to make a solid based bed. In the design process, it became apparent that I needed some more storage, primarily to store the boxes the computer parts and other consumer electronics came in. Finally I wanted the bed be a functional sofa for when I had visitors and we wanted to watch a film or play a game.
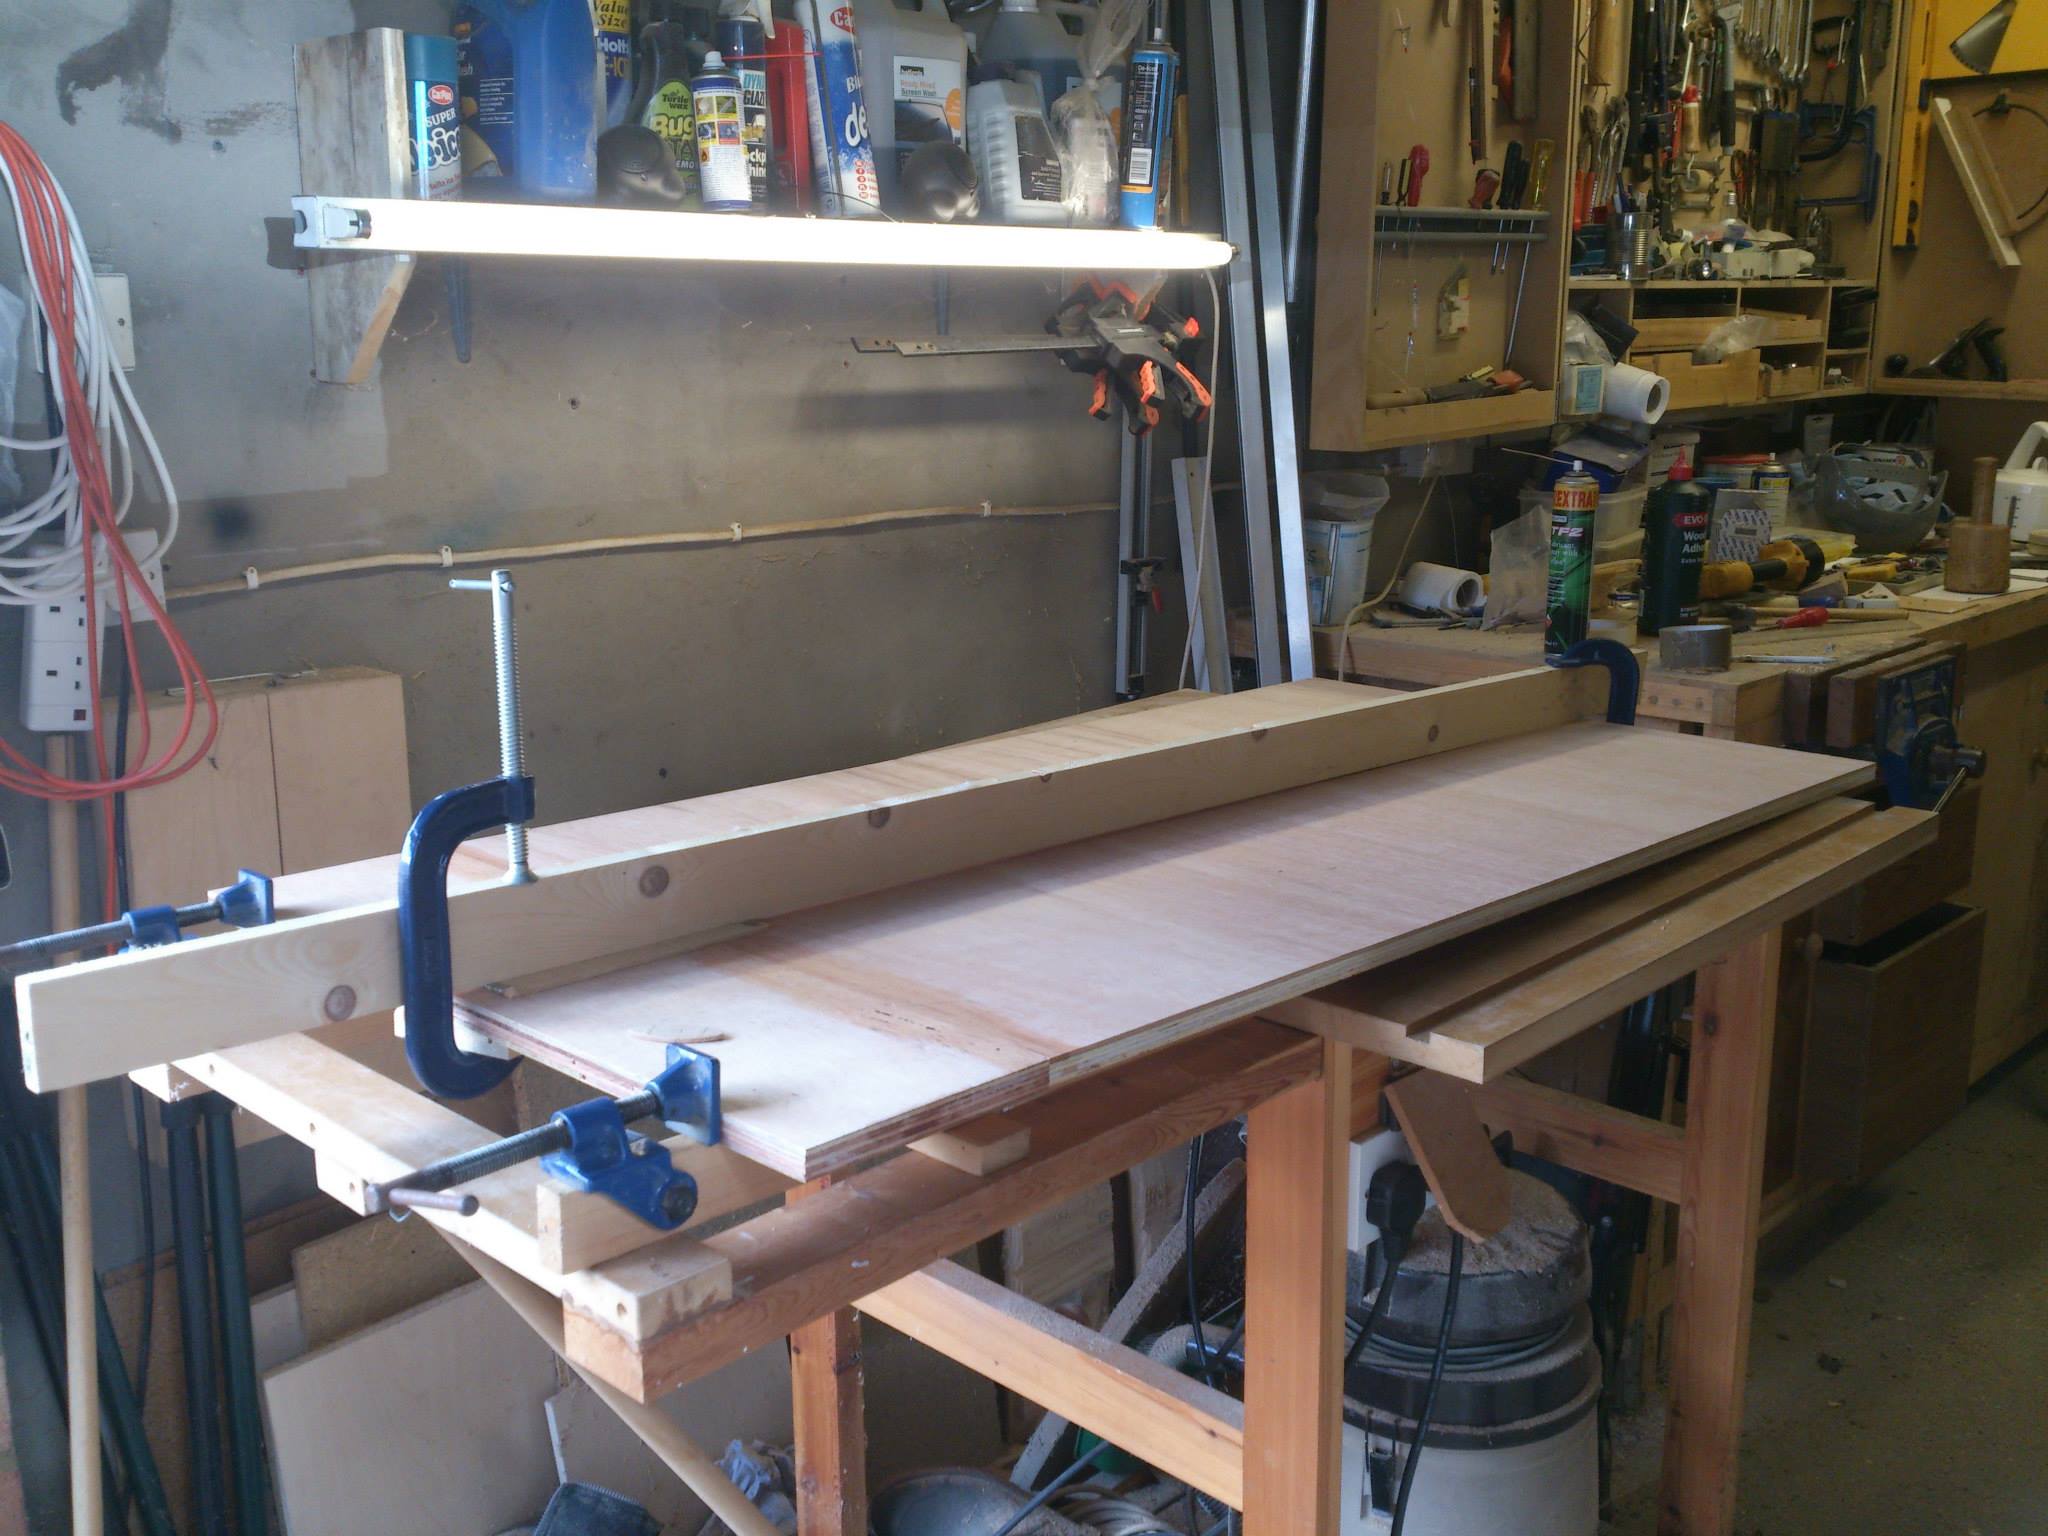
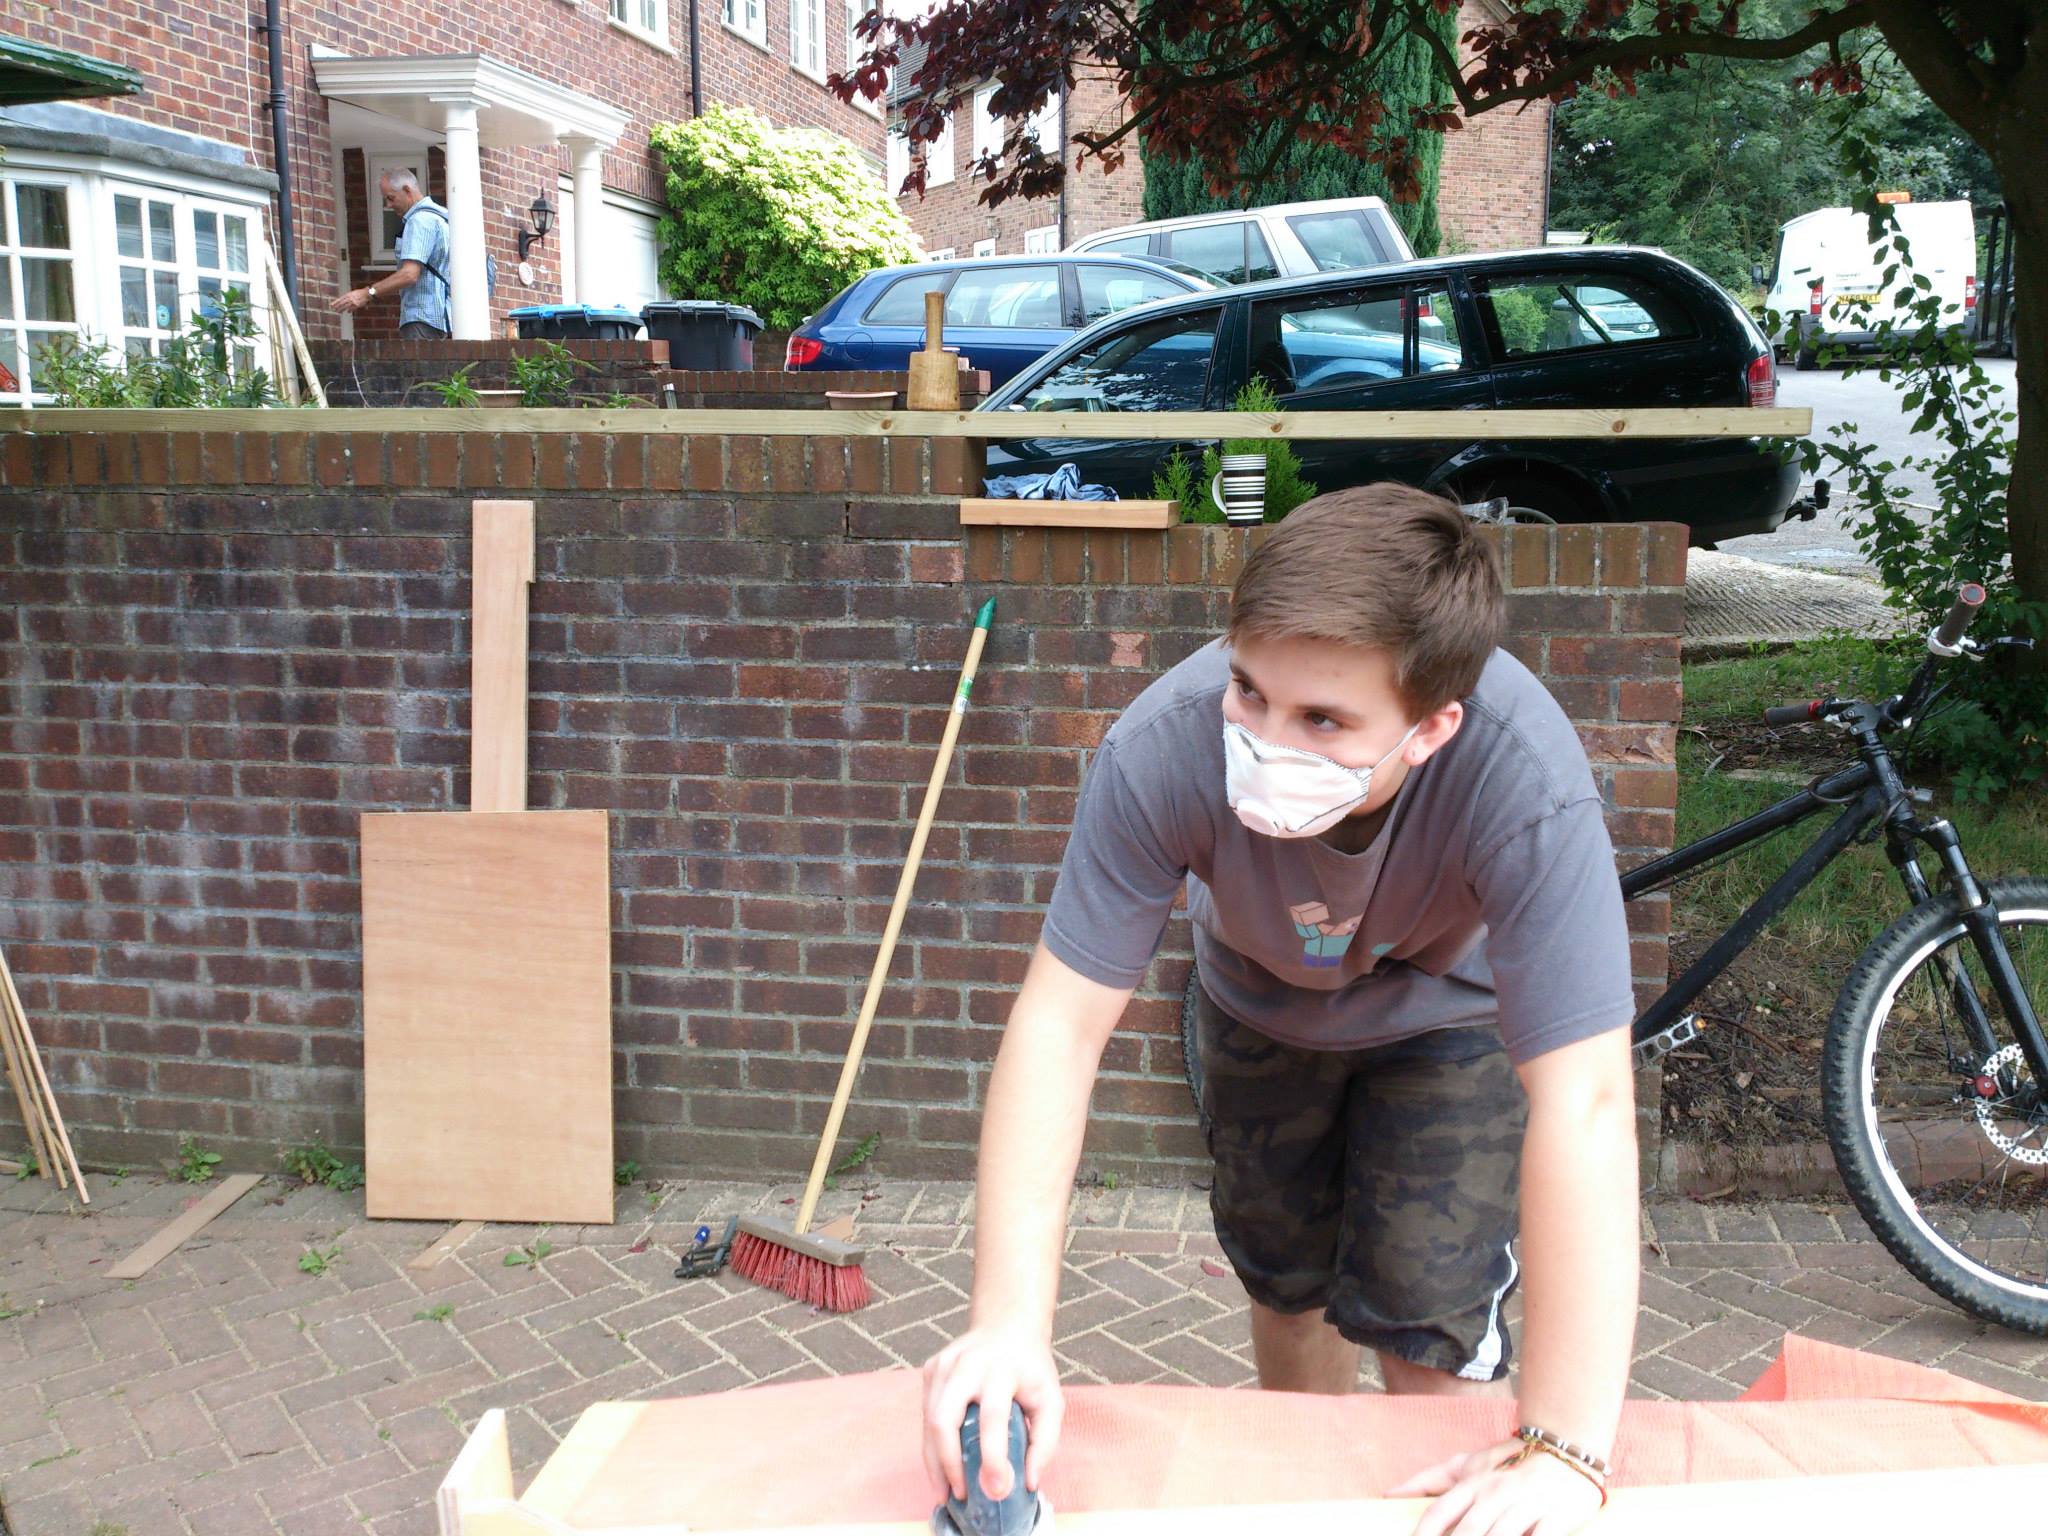
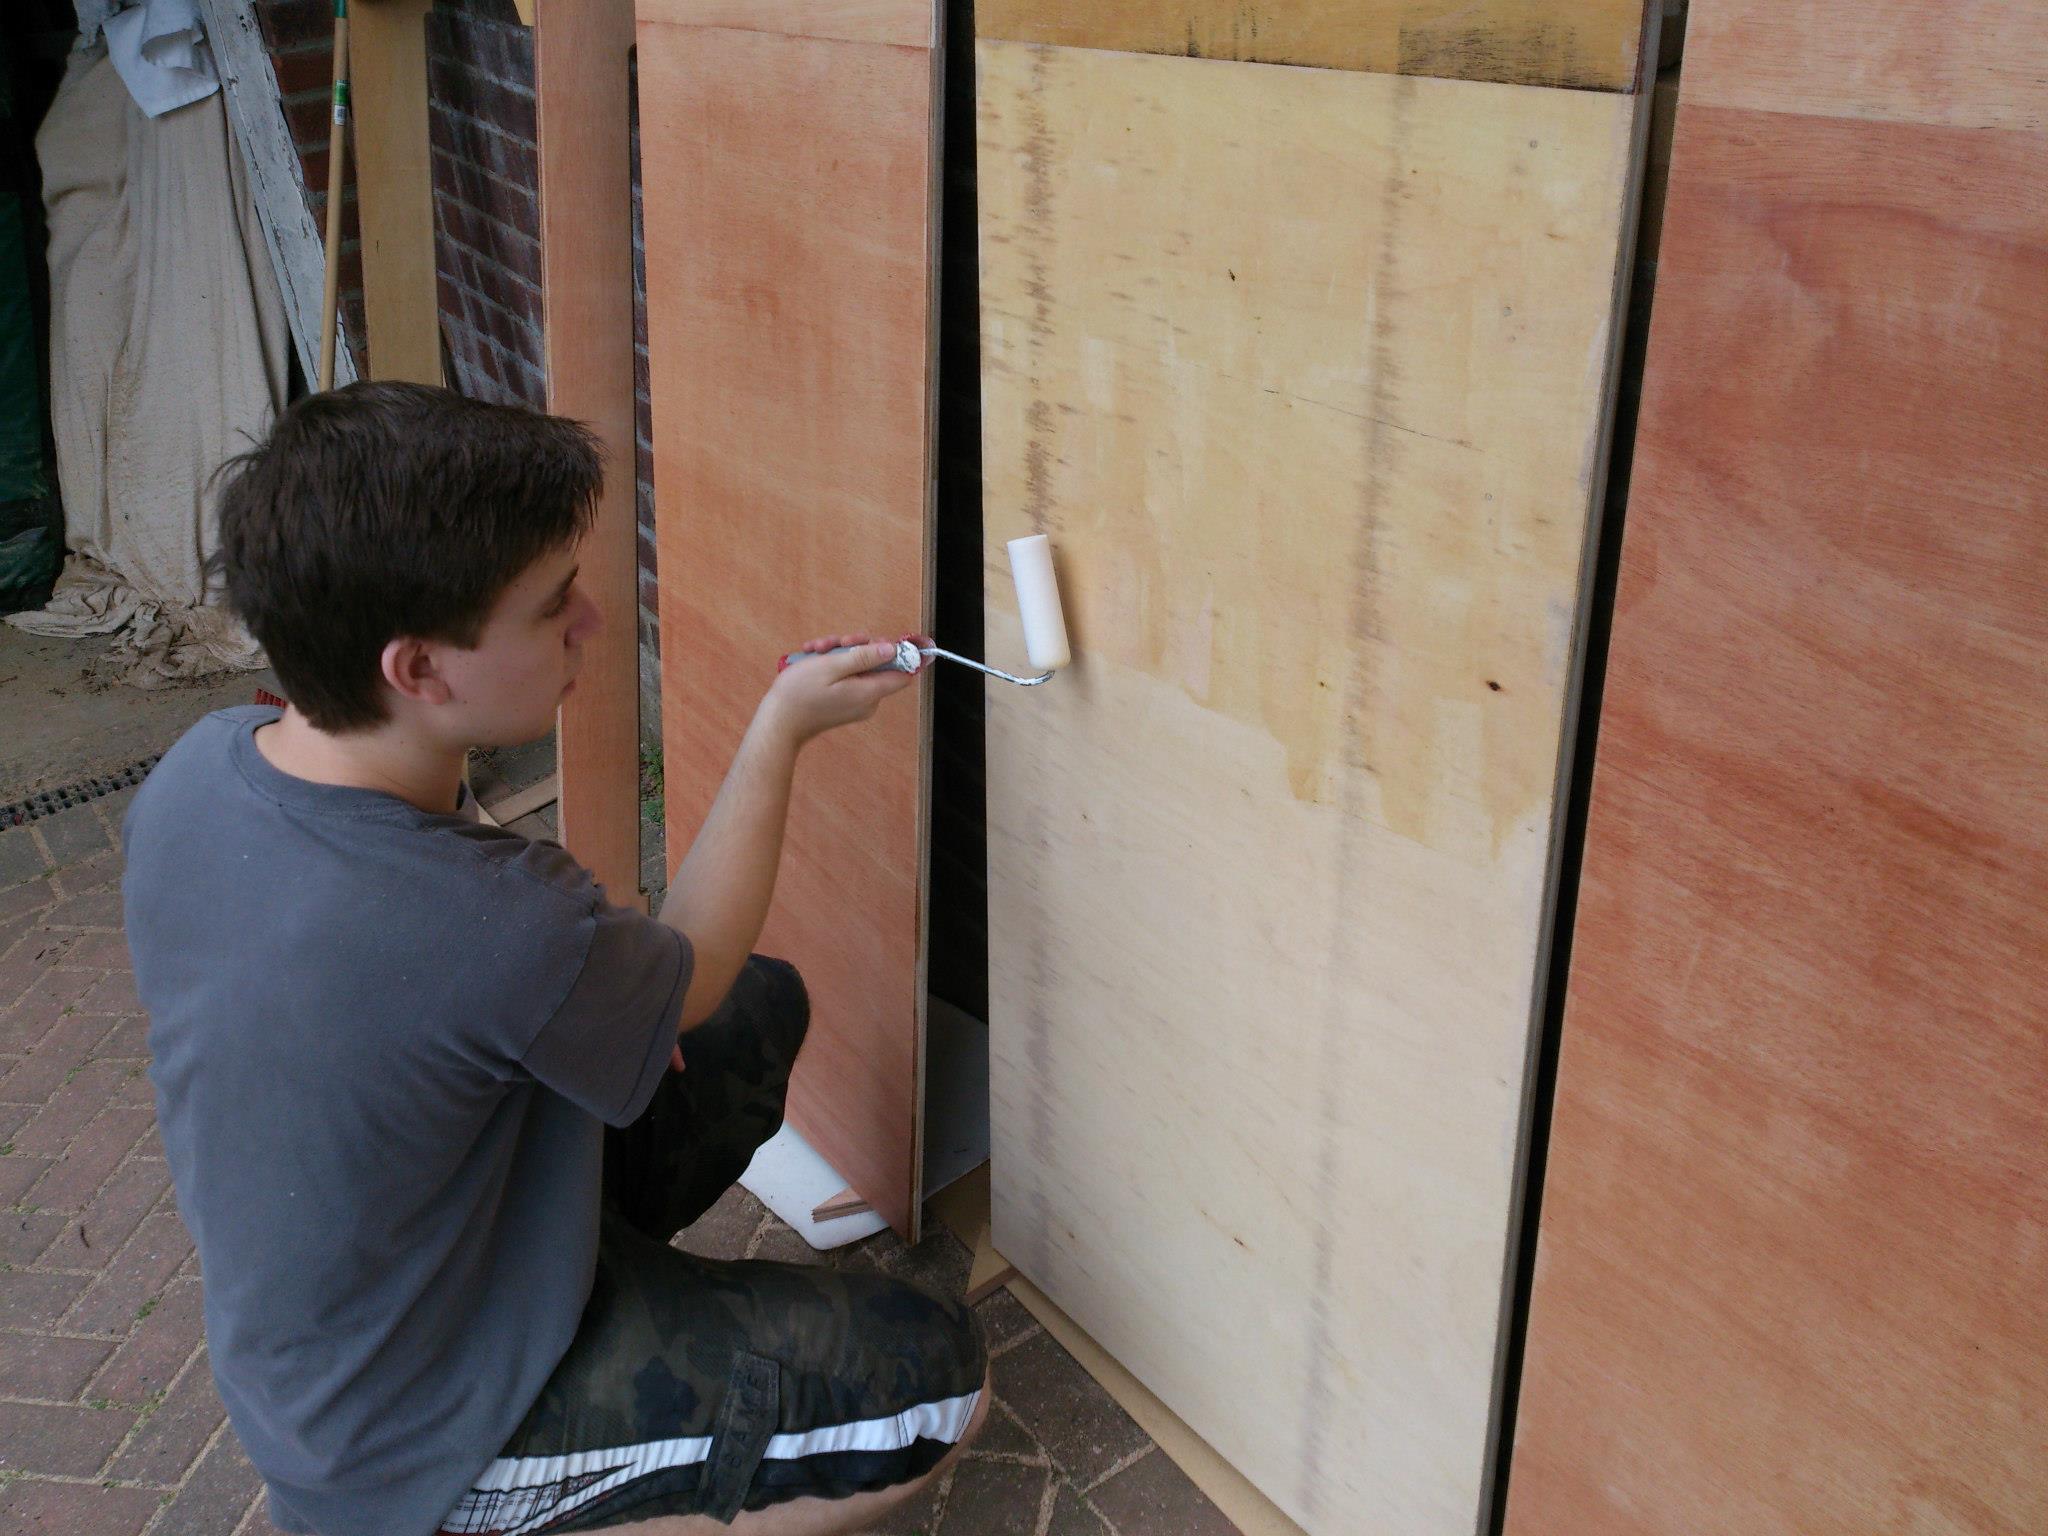
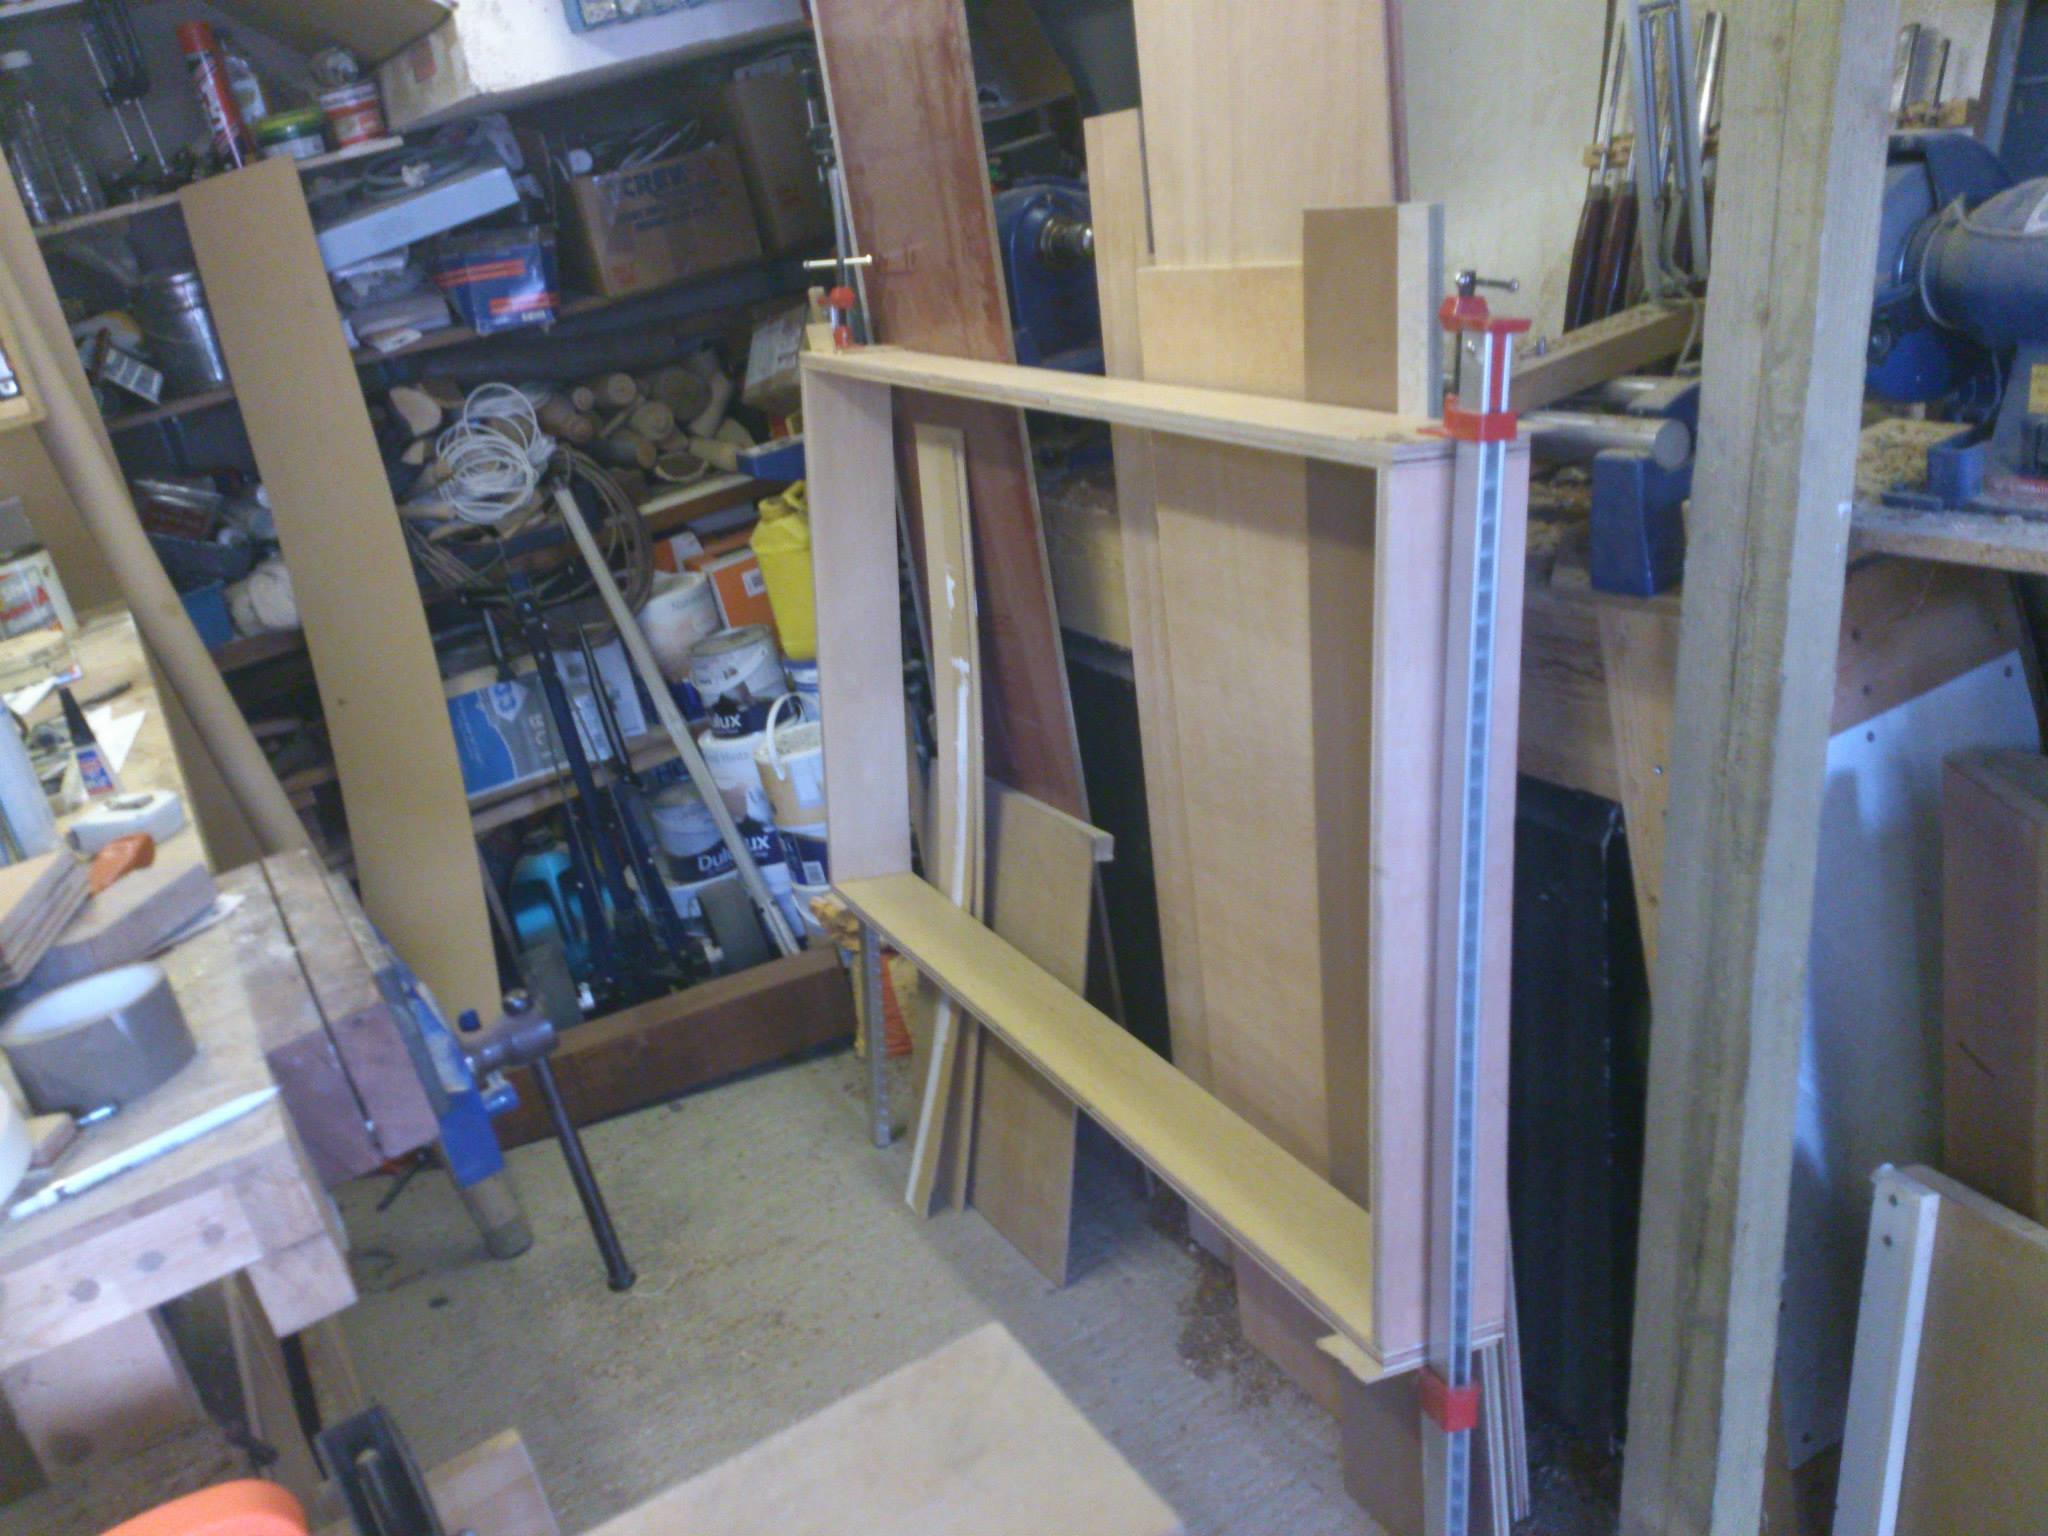
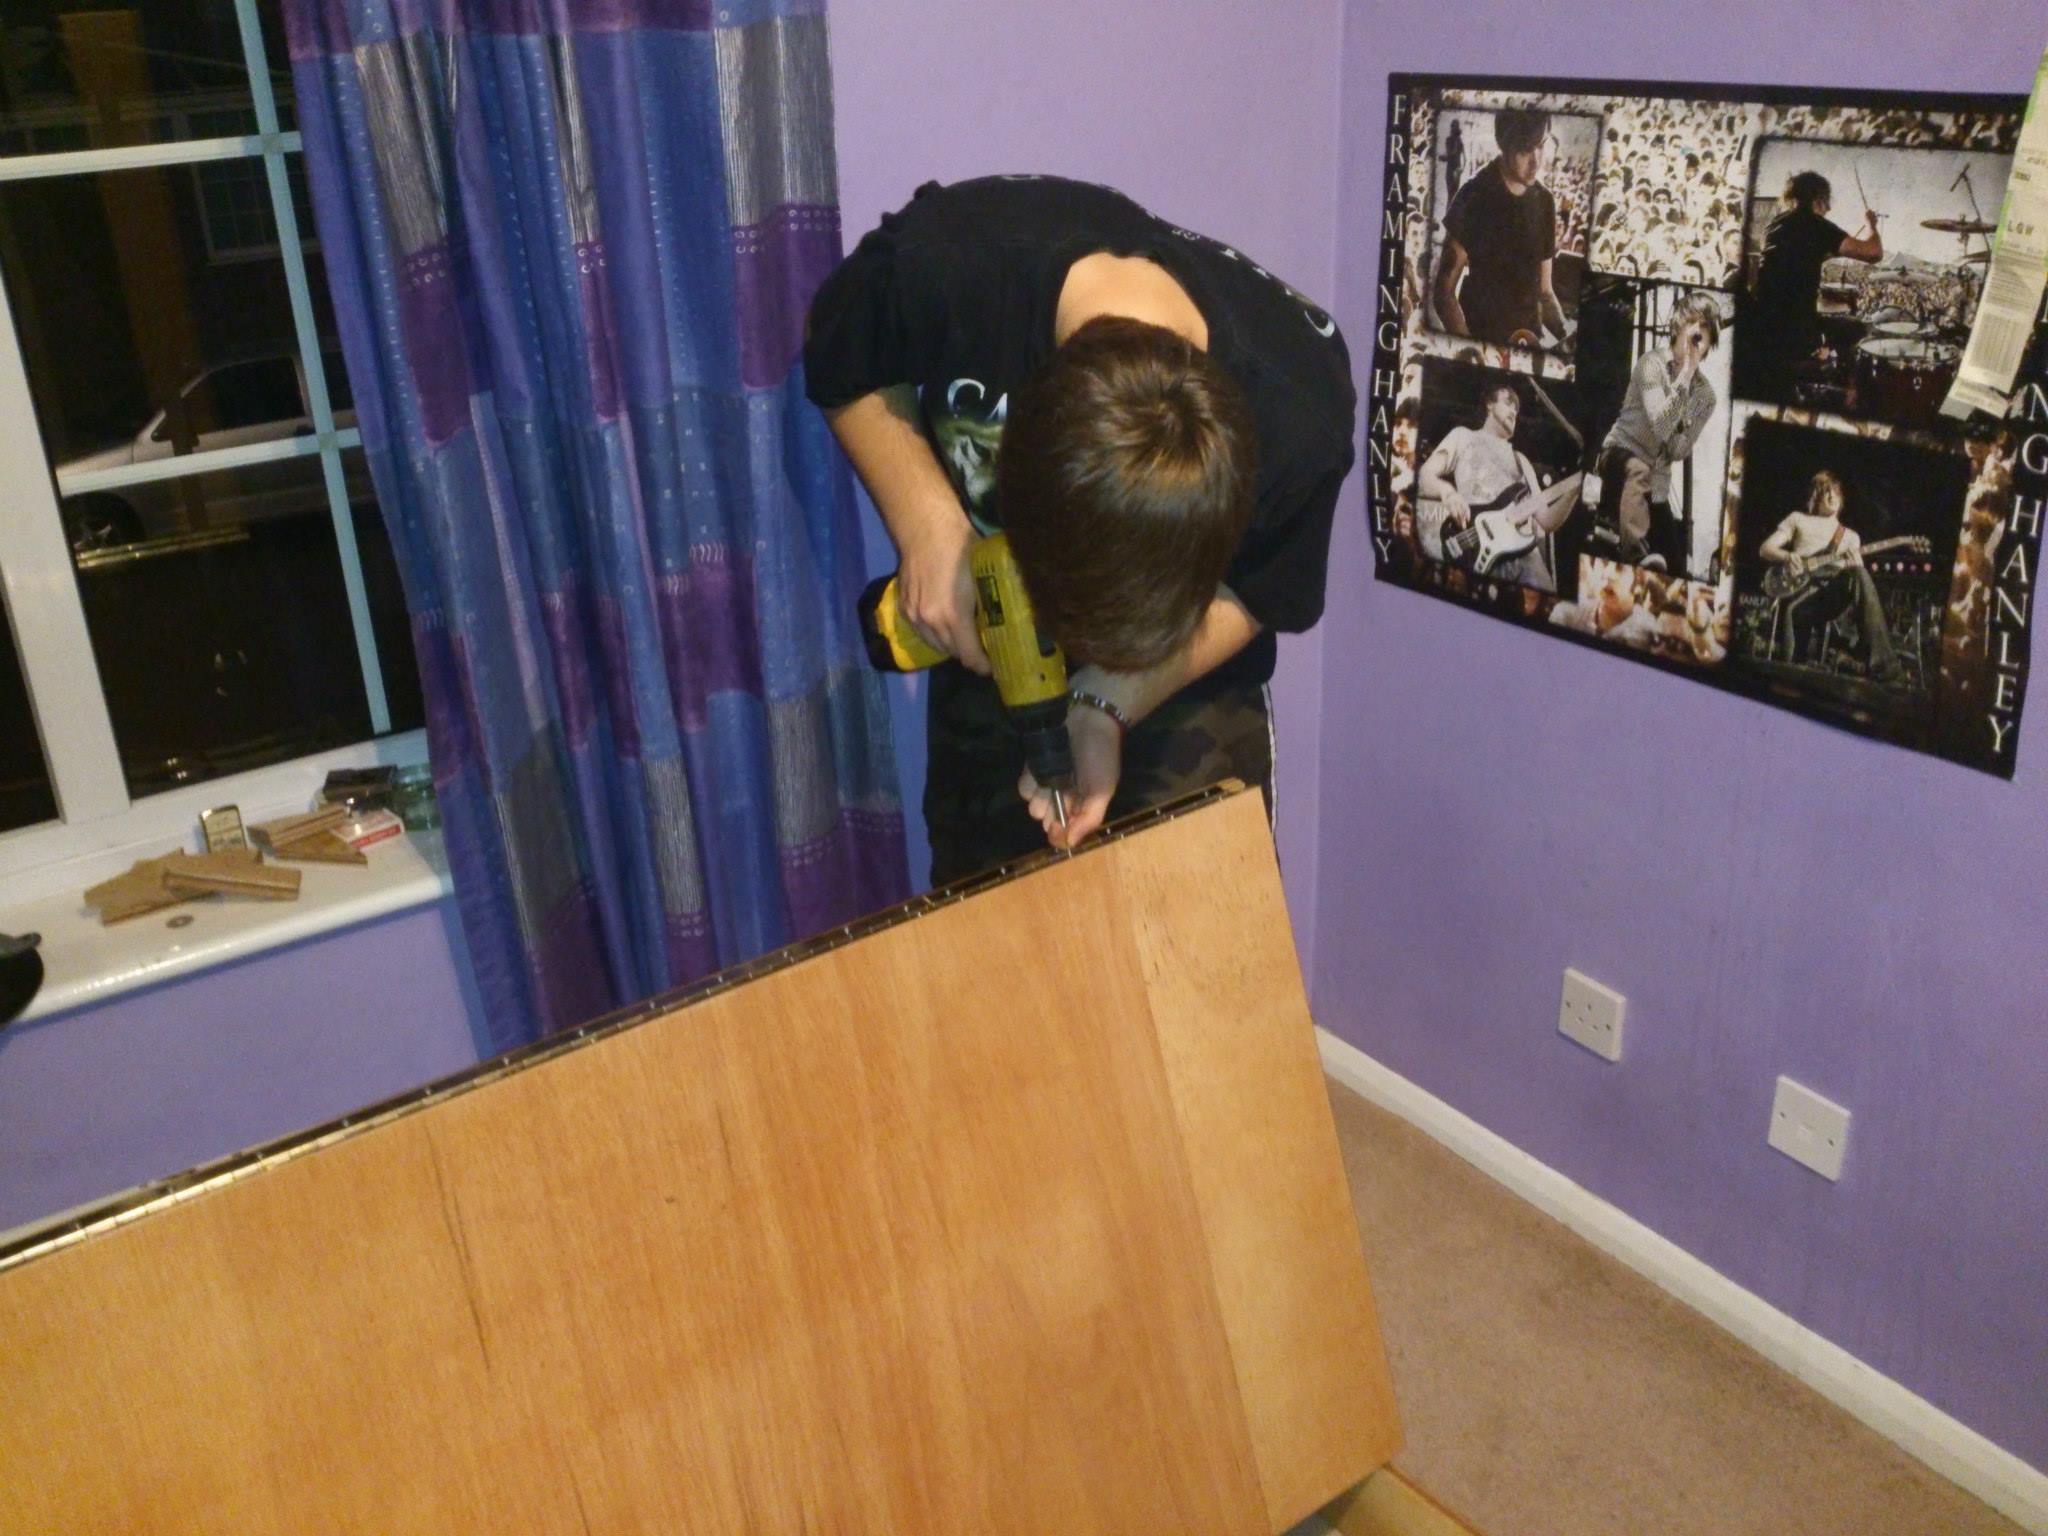
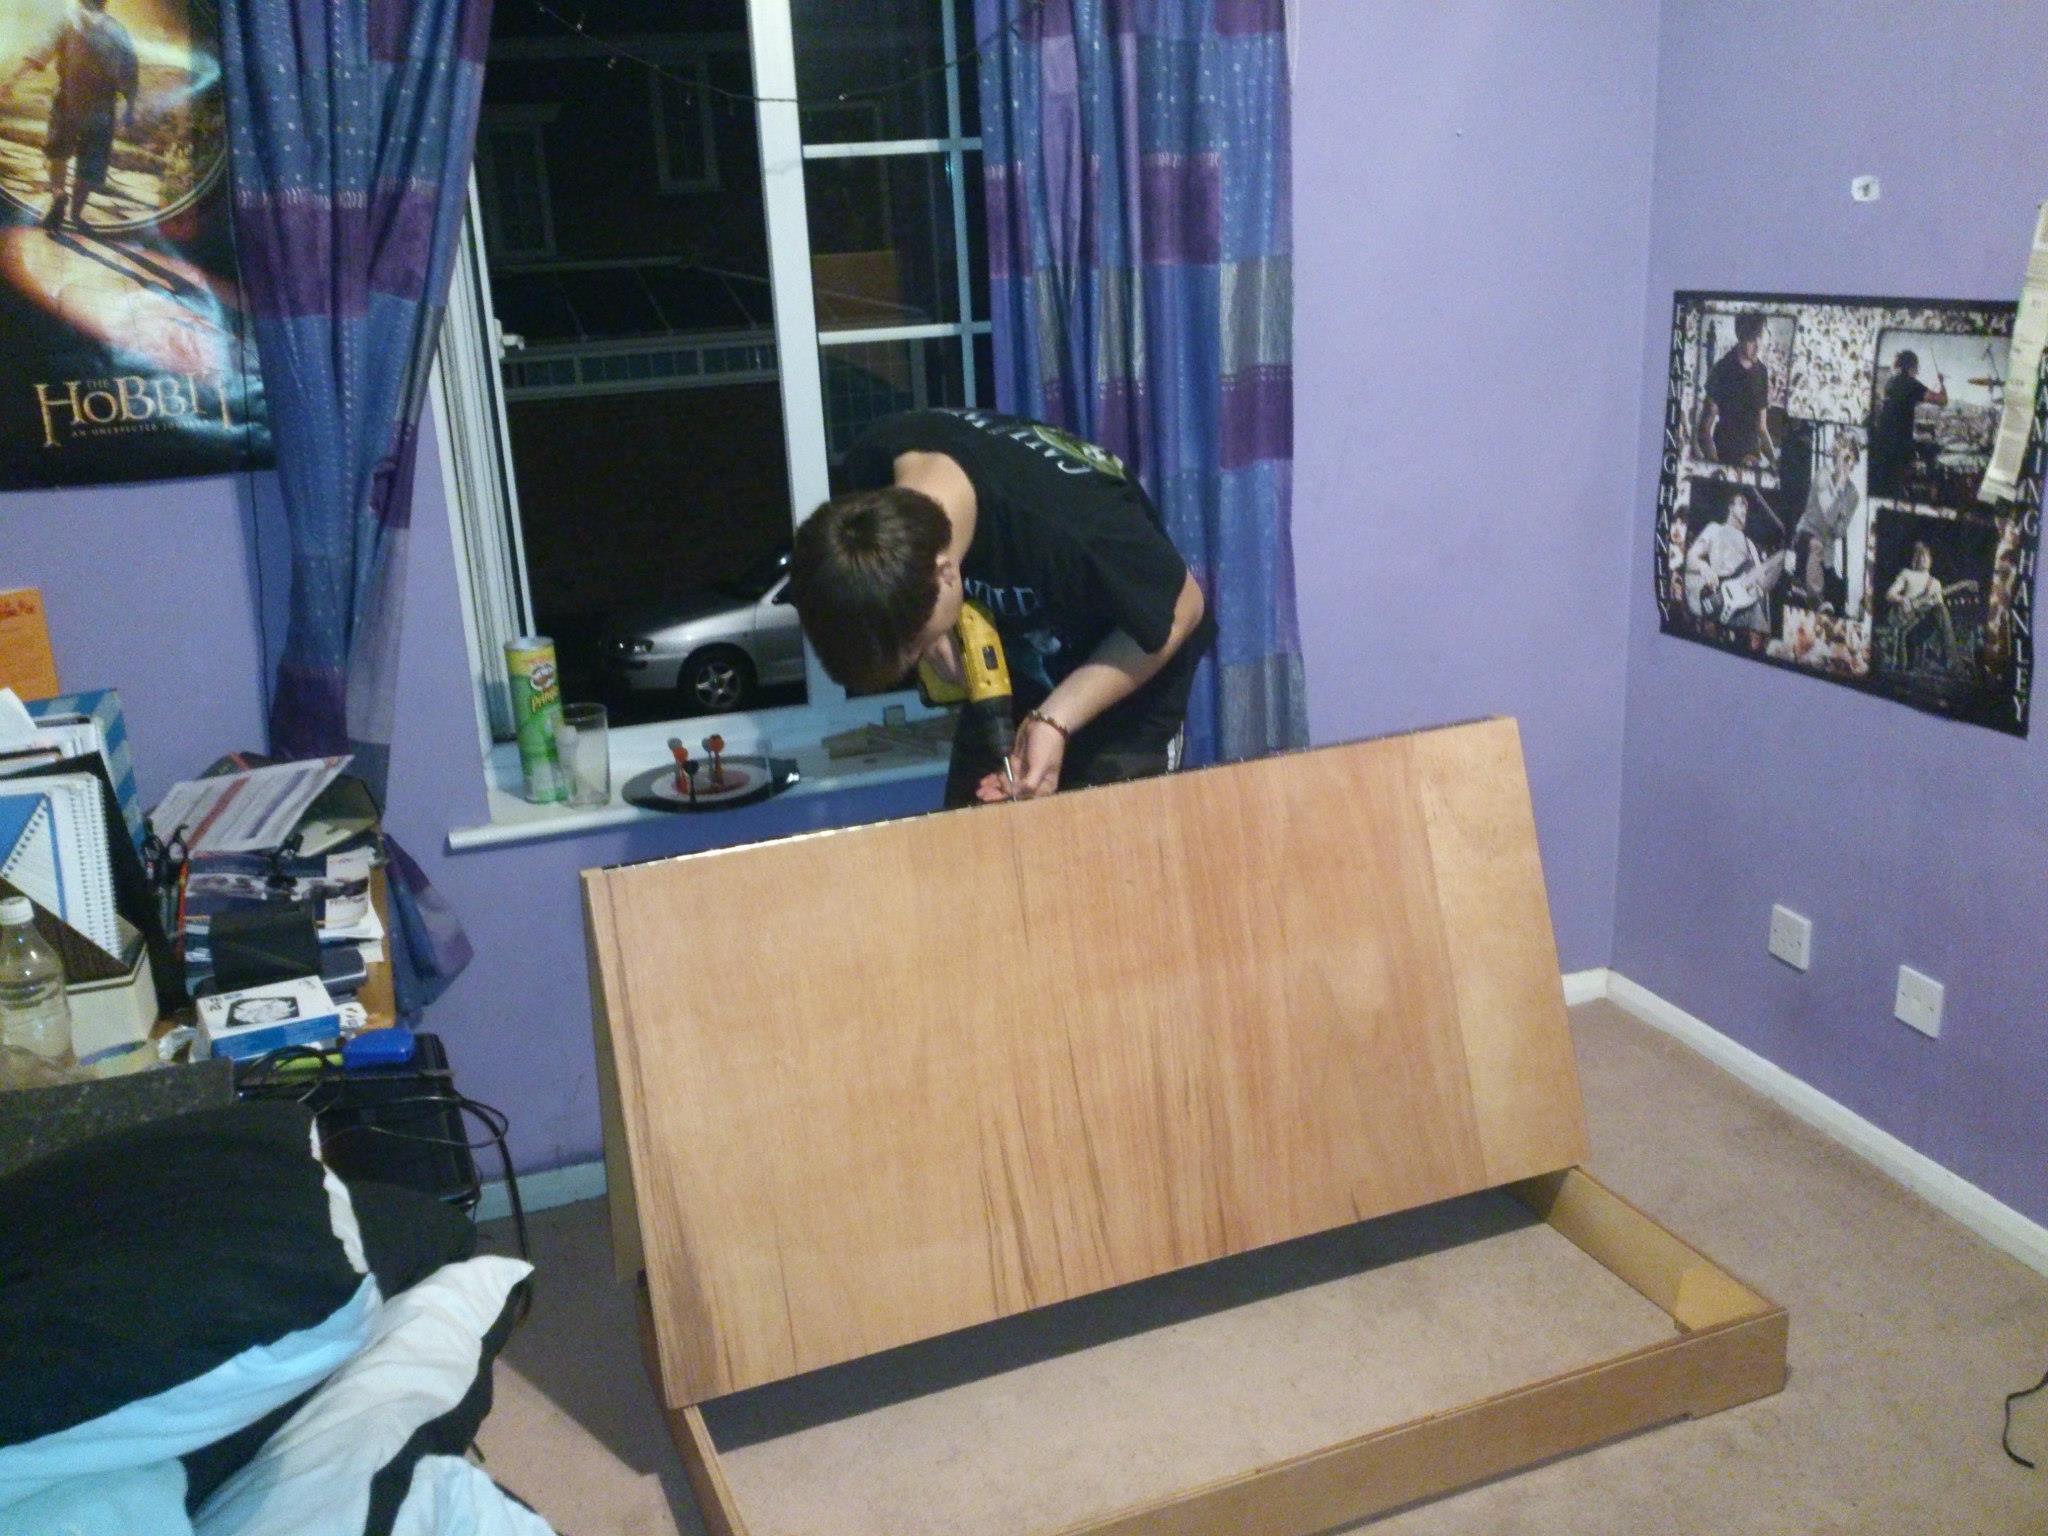
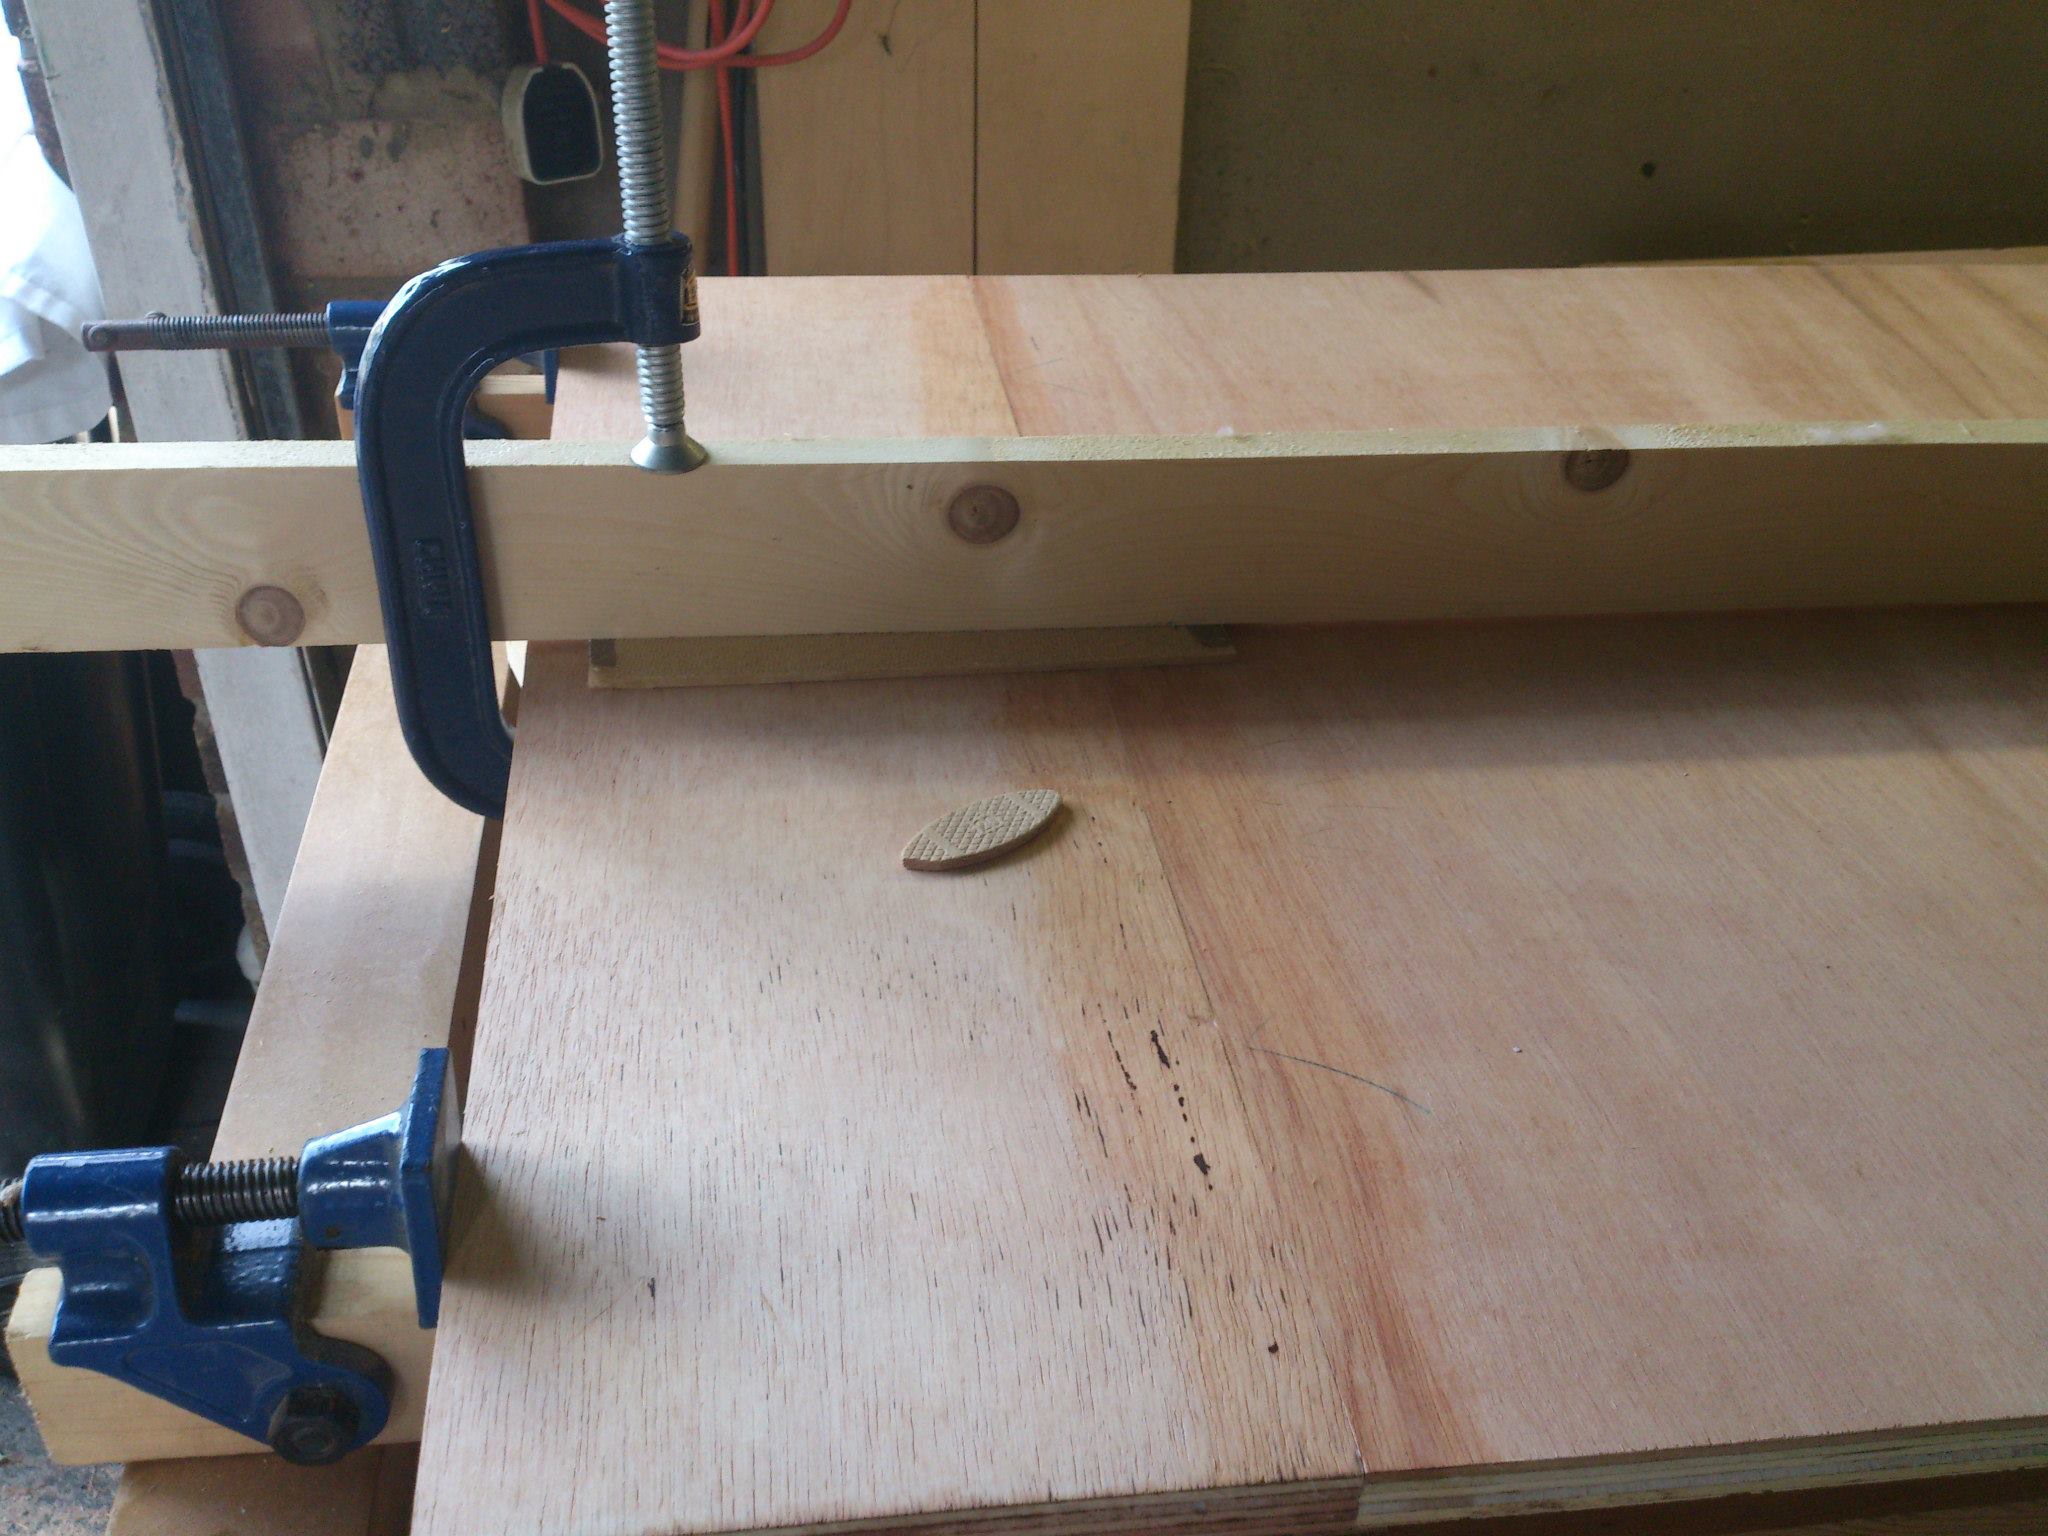
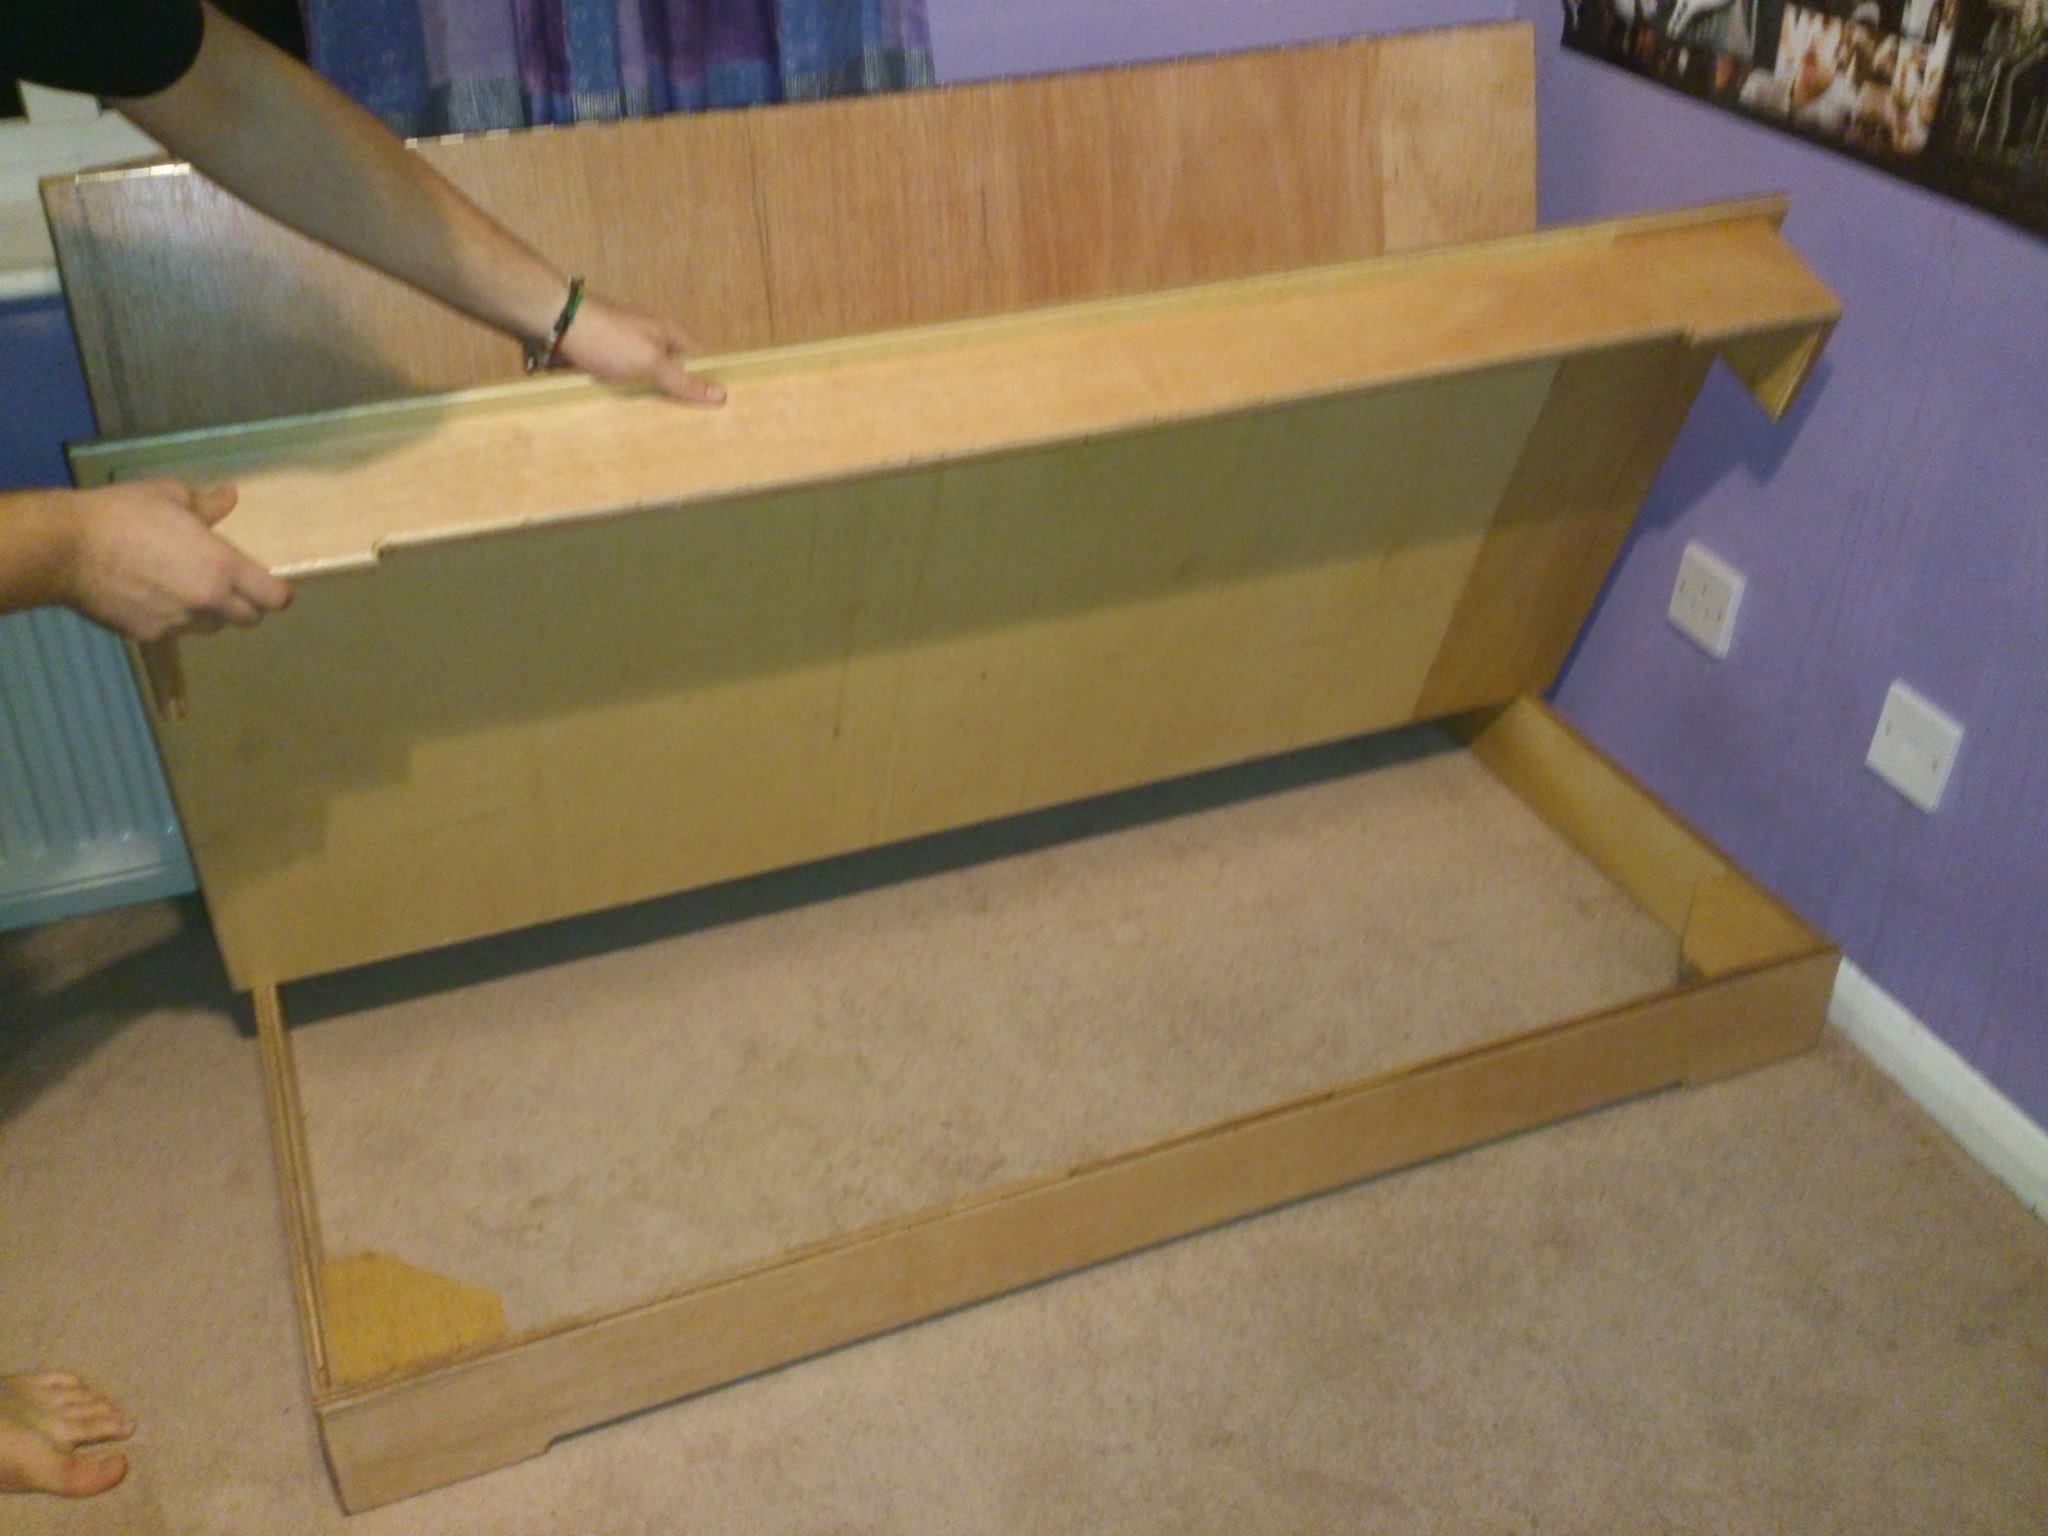
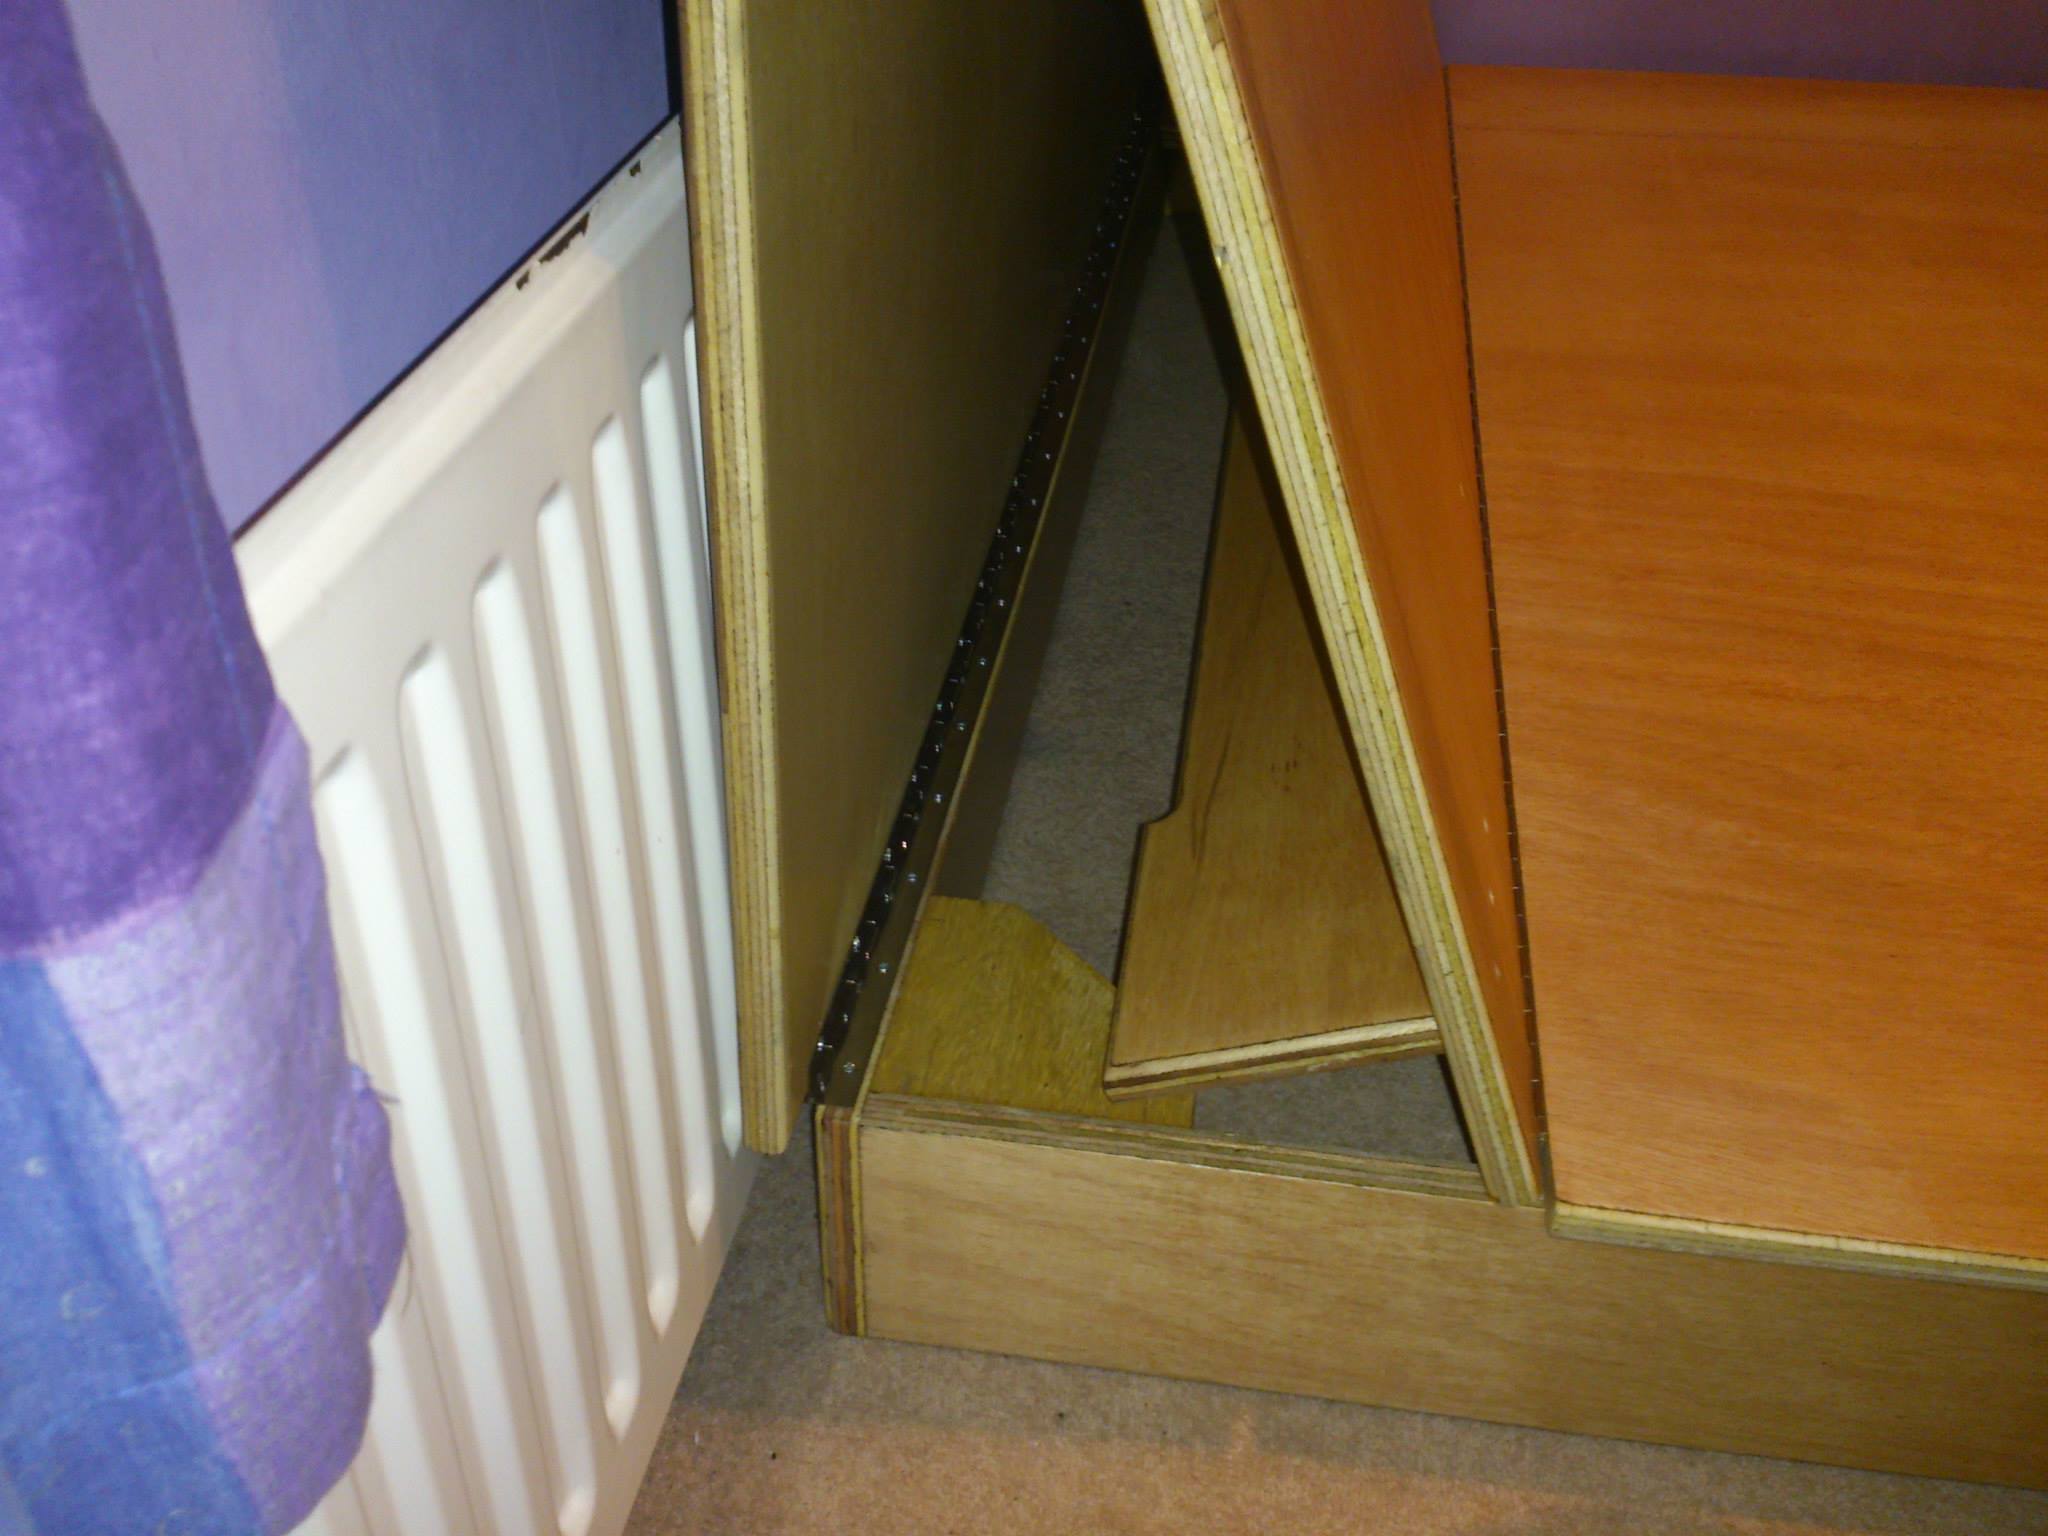
Material choice was a big one for this project, since the span of the boards was quite large and there couldn't be support beams along the sides with it being easy to fold. Solid wood would have been plenty strong enough but can you imagine how much that would have cost?! No the only choices were fibre boards or ply wood. In the end, 22mm 7 layer ply was chosen and the entire bed was made only of this, some hinges, screws and glue. The aspect ratio of the sheets meant that it wasn't economical to make each board from a single cut, and instead was spliced together from two smaller boards. The assembly of the bed was rather simple. We cut the wood into 3 sections, with the middle section being the longest and top being the shortest in order to achieve an angled back rest. The square base (storage box) was made separately. A reinforcing leg (see image on the right) was attached with screws from the top of the middle board. The decorative bottom leg was also attached from the top, and was assembled separately.